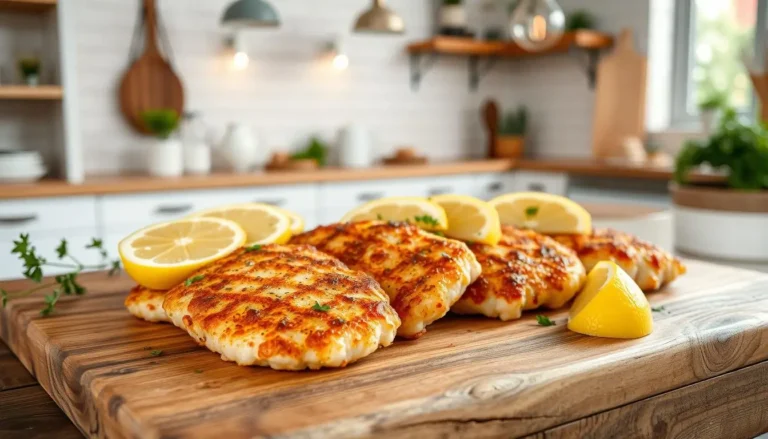
Baked Chicken Strips – The Best Oven-Baked Chicken Recipe Everyone Loves
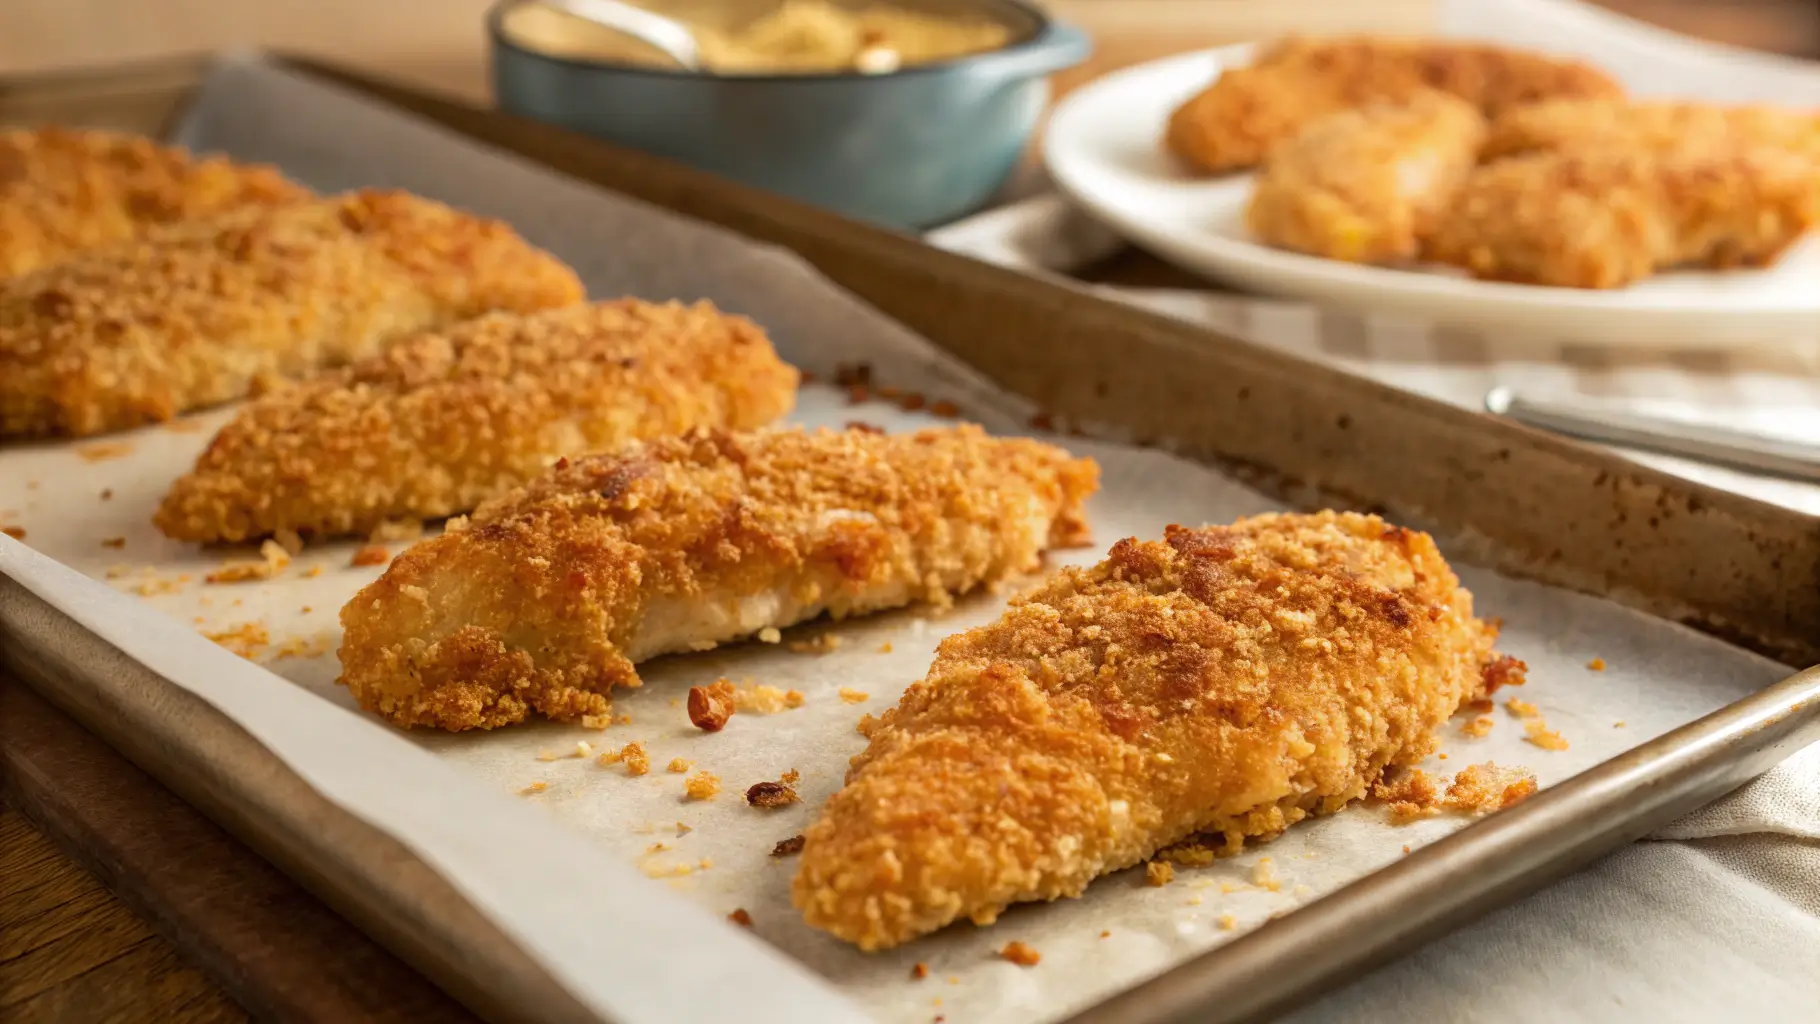
Table of Contents
Looking for a healthier, crunchier, and totally satisfying way to enjoy chicken? Baked chicken strips are a go-to favorite for busy weeknights, picky eaters, or anyone who craves something crispy without reaching for the deep fryer. This guide walks you through everything you need to know—from choosing the right cut and seasoning to baking at just the right temperature for tender, golden-brown results.
You’ll discover: the best baking temperatures, how long to cook them, why your chicken may be turning out tough, and all the tricks for locking in flavor and crunch. Don’t miss our top serving ideas and make-ahead tips at the end.
Why Baked Chicken Strips Are a Must-Try
Healthier Alternative to Fried Chicken
If you’re trying to eat lighter but still want that classic crispy chicken taste, baked chicken strips are a total win. They skip the deep fryer and rely on high-heat oven magic to crisp up the coating—no excess oil required. Plus, you can control the ingredients, skip additives, and enjoy a leaner protein option.
Compared to traditional fried tenders, baked strips offer fewer calories, less saturated fat, and zero guilt. You’re not sacrificing crunch or flavor—you’re just making a smarter choice.
Perfect for Quick Weeknight Meals
One of the best things about baked chicken strips is how fast they come together. From prep to plate in under 30 minutes, this meal fits perfectly into your weekly dinner rotation. Just coat, bake, and serve with a dipping sauce or quick side.
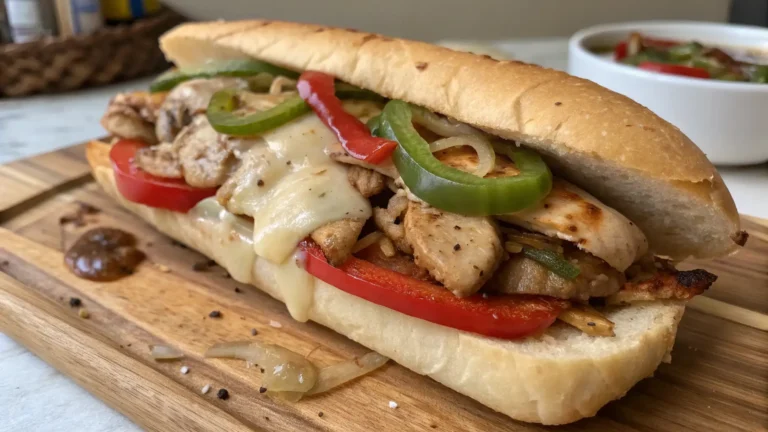
Check out our Blackstone Chicken Recipes if you love other quick-prep ideas!
Kid-Friendly and Meal-Prep Approved
Whether your kids are picky eaters or you’re looking for easy grab-and-go lunch options, baked chicken strips are always a hit. They reheat well, pack easily, and pair with just about anything. You can make a big batch on Sunday and enjoy them throughout the week—hot or cold.
Ingredients You Need for Baked Chicken Strips
Chicken Tenders vs Chicken Strips: What’s the Difference?
While many people use the terms “chicken tenders” and “chicken strips” interchangeably, there’s a subtle difference. Chicken tenders come from the tenderloin, a small muscle under the chicken breast. They’re naturally tender and uniform in size. Chicken strips, on the other hand, are often sliced from the breast itself.
Both work great for this recipe. However, tenderloins tend to cook more evenly and remain juicier—making them ideal for baking.
Must-Have Ingredients for Flavorful Strips
To make flavorful baked chicken strips, here’s what you’ll need:
| Ingredient | Purpose |
|---|---|
| Chicken tenders | Main protein (or breast strips) |
| Eggs | Helps bind coating |
| All-purpose flour | Base coating layer |
| Panko breadcrumbs | Adds crispy texture |
| Garlic powder | Flavor boost |
| Paprika | Adds color and mild heat |
| Salt & pepper | Seasoning essentials |
| Olive oil spray | Helps with browning |
You can also mix in some grated Parmesan, dried herbs, or chili flakes for an extra punch of flavor.
Optional Coatings: Panko, Breadcrumbs, or Crushed Cereal
Choosing the right coating can make or break your baked chicken strips. Here are a few popular options:
- Panko breadcrumbs: Light and airy, perfect for extra crunch.
- Traditional breadcrumbs: Denser with a smoother texture.
- Crushed cornflakes or rice cereal: Adds a slightly sweet crunch.
- Almond flour: Great for low-carb or gluten-free diets.
For a southern-style twist, try adding a little cornmeal to your mix. And for low-carb lovers, crushed pork rinds give amazing crispness without the carbs.
Want a Tex-Mex flavor twist? Our King Ranch Chicken uses a similar flavor profile that pairs perfectly with spiced coatings.
How to Prep Chicken Strips for Baking
Cleaning and Cutting the Chicken Properly
Preparation starts with choosing the right cut and handling it properly. Whether you’re working with chicken tenderloins or sliced chicken breast, always start by patting the meat dry with paper towels. Excess moisture prevents the coating from sticking and browning well.
If using chicken breasts, slice them into even strips—about ½ to ¾ inches thick. This ensures they cook uniformly in the oven and avoids that dreaded dryness on thinner edges.
Trim any visible fat or tendons from the strips, especially with tenderloins, as they can turn chewy when baked.
Tips for Marinating Chicken for Juicy Results
Want juicy baked chicken strips every time? Marinating is your secret weapon. It doesn’t just tenderize—it adds flavor deep inside.
Here’s a simple marinade idea:
- 1 cup buttermilk or Greek yogurt
- 1 tsp garlic powder
- 1 tsp salt
- ½ tsp paprika
- Optional: 1 tbsp hot sauce
Soak the chicken for at least 30 minutes—or overnight if you have time. The acids in buttermilk help break down muscle fibers and retain moisture during baking.
You can also use a dry rub if short on time—just season generously and let the chicken rest for 10 minutes before coating.
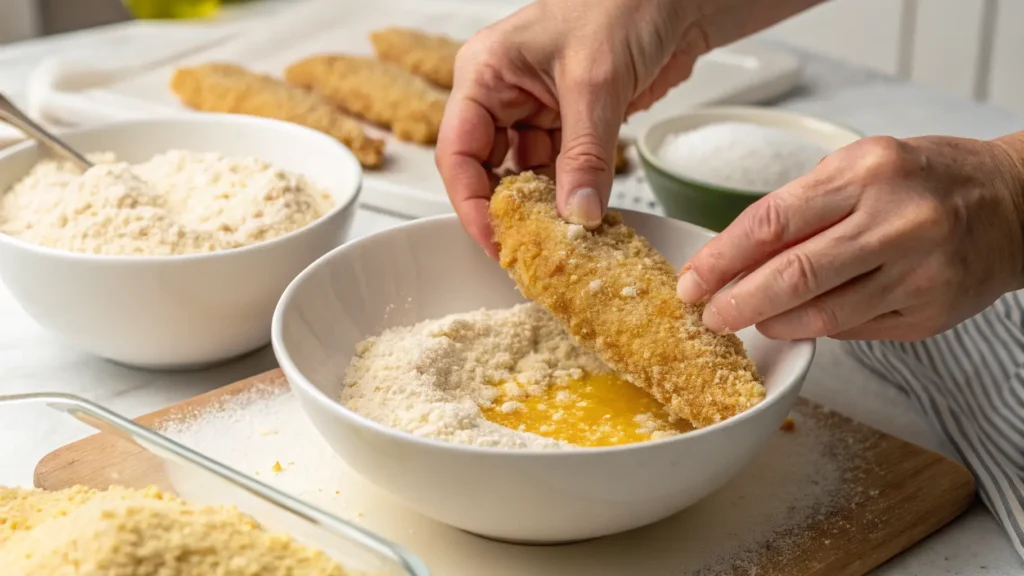
Coating Techniques That Add Crunch Without Frying
The coating process makes all the difference when skipping the fryer. Follow this method for crispy oven-baked chicken:
- Dredge in seasoned flour – Helps the egg stick.
- Dip in beaten eggs – Acts as a glue for breadcrumbs.
- Press into Panko or coating of choice – Make sure all sides are covered.
- Spray lightly with olive oil – Promotes browning in the oven.
Pro Tip: Use a wire rack on a baking sheet. It allows heat to circulate around each piece and prevents soggy bottoms.
Don’t miss our Chicken Cheesesteak Recipe to explore more great ways to prep chicken with bold flavors.
Best Temperature to Bake Chicken Strips
Is It Better to Bake Chicken at 350 or 400?
One of the most common questions when cooking baked chicken strips is whether you should set the oven to 350°F or 400°F. The quick answer? 400 degrees Fahrenheit is often the better choice. At this temperature, the strips cook through faster, and the outside turns beautifully golden and crispy—without needing a deep fryer.
If you opt for 350°F, your baked chicken strips will still cook through, but they may lack that satisfying crunch. For juicier, thicker strips, 350°F can work, but it’s not ideal if you want that perfect crispy bite.
When to Use 350°F vs 400°F for Perfect Texture
| Oven Temp | Best For | Bake Time | Texture Outcome |
|---|---|---|---|
| 350°F | Thicker chicken, juicier interior | 25–30 minutes | Softer outside, tender |
| 400°F | Crispy strips, faster cooking | 18–22 minutes | Crunchy outside, juicy core |
Choosing the right temperature for baked chicken strips really depends on what you’re going for. If your goal is crunchy, go for 400°F. For thicker, moister cuts, 350°F could be the better route.
What Internal Temperature Should Baked Chicken Strips Reach?
No matter what oven temperature you choose, all baked chicken strips must reach an internal temp of 165°F (74°C) to be safe to eat. Always insert a meat thermometer into the thickest part of the strip to check doneness.
Here’s a helpful quick guide:
- Undercooked (140–155°F): Unsafe, pink center
- Perfectly Cooked (165°F): Safe, juicy, white inside
- Overcooked (175°F+): Dry and rubbery texture
To ensure your baked chicken strips don’t dry out, remove them from the oven right as they hit 165°F. Letting them rest for a couple of minutes also helps retain moisture.
How Long to Bake Chicken Strips at 400 Degrees
Exact Time Needed for Crispy Baked Chicken Strips at 400°F
If you’re aiming for the crispiest baked chicken strips, then 400°F is your best friend. At this temperature, the perfect bake time is typically between 18 and 22 minutes. This time range allows the coating to get beautifully golden while keeping the inside juicy and tender.
Here’s a quick reference for how long to bake chicken strips based on their thickness:
| Strip Thickness | Oven Temp | Bake Time | Notes |
|---|---|---|---|
| Thin (½ inch) | 400°F | 16–18 minutes | Watch closely to avoid overcooking |
| Medium (¾ inch) | 400°F | 18–20 minutes | Best balance of crisp and moisture |
| Thick (1 inch or more) | 400°F | 22–24 minutes | May require flipping or lower temp midway |
Whether you’re using pre-cut tenderloins or slicing your own, baking chicken strips at 400°F gives you that oven-fried texture without the mess.
How Thickness and Coating Affect Bake Time
Not all baked chicken strips cook the same way. Thickness, moisture, and even the coating method all impact the total baking time.
- Thicker strips take longer to cook through and can dry out if you don’t adjust.
- Marinated chicken tends to hold more moisture, which may slightly extend cooking time.
- Panko coatings or cheese crusts brown faster—so be careful not to burn the outer layer before the chicken is done inside.
To keep your chicken crispy and juicy, flip your strips halfway through and always place them on a wire rack over a baking sheet. This allows hot air to circulate and ensures even cooking on all sides.
Time-Saving Tips for Busy Nights
Need dinner on the table fast? Here are smart ways to save time with your baked chicken strips:
- Use thinner cuts: Thin chicken cooks faster and still stays tender.
- Pre-marinate: Toss strips in a seasoned marinade in the morning or the night before.
- Meal-prep in batches: Coat and freeze uncooked strips in advance—just add 5–7 minutes when baking from frozen.
- Use convection bake: Speeds up cooking and helps your coating crisp up evenly.
How to Make Baked Chicken Strips in the Oven
Step-by-Step Oven Instructions (No Fryer Needed)
Making deliciously baked chicken strips at home is easier than you think. With just a few pantry staples and a baking sheet, you’ll have crispy, juicy chicken ready in under 30 minutes.
Here’s the simple process:
- Preheat your oven to 400°F.
- Line a baking sheet with parchment paper or place a wire rack on top for airflow and even crisping.
- Prepare your dredging stations:
- 1 shallow bowl with seasoned flour
- 1 bowl with beaten eggs
- 1 bowl with panko breadcrumbs (add garlic powder, paprika, salt, and pepper for flavor)
- Coat each chicken strip:
- Dredge in flour
- Dip in egg
- Press into the breadcrumb mixture until fully coated
- Arrange strips evenly on your prepared baking sheet.
- Spray the tops lightly with olive oil spray to promote browning.
- Bake for 18–22 minutes, flipping halfway through. Use a meat thermometer to check for 165°F internal temperature.
That’s it. Crispy, flavorful oven-baked chicken strips—no deep frying, no oil splatter, no guilt.
Do You Need to Cover Chicken When Baking?
No, you should not cover baked chicken strips while they cook. Covering traps steam, which softens the coating and leaves your chicken soggy—not crispy. To achieve that crave-worthy crunch, always leave them uncovered and give them room to breathe on the tray or rack.
If you’re baking in a smaller oven or using a toaster oven, just make sure there’s enough airflow around the chicken.
Pro Tip: How to Keep Chicken from Drying Out
Dry chicken is the number one complaint when baking at high heat—but it’s easily preventable.
Here’s how to keep your baked chicken strips juicy:
- Don’t overbake—as soon as internal temp hits 165°F, take them out.
- Use a marinade or brine beforehand to lock in moisture.
- Let them rest for 3–5 minutes after baking. This helps redistribute juices inside the meat.
- Use a wire rack to keep hot air circulating under the strips—this avoids steaming on the bottom.
Common Mistakes That Make Chicken Strips Tough
Overbaking and Undermarinating
One of the easiest ways to ruin a batch of baked chicken strips is by overbaking them. Even just a few extra minutes in the oven can turn juicy meat into dry, rubbery strips. Chicken breast and tenderloins are lean cuts—so they don’t have much fat to cushion against heat.
Solution? Always use a meat thermometer. The second the thickest part hits 165°F, pull them out. And don’t forget—chicken continues to cook for a minute or two after it’s removed from the oven.
Undermarinating is another major misstep. Skipping this step might save time, but it costs you in texture and taste. Marinades help tenderize the meat while locking in moisture and flavor.
A quick buttermilk soak or even 15 minutes in a seasoned yogurt marinade can make all the difference in your oven-baked chicken strips.
Using the Wrong Cut of Chicken
Not all chicken cuts are created equal. Using the wrong type—like bone-in or unevenly sliced breast meat—can lead to uneven cooking and tough texture.
The best results come from:
- Chicken tenderloins – Naturally tender and evenly sized
- Uniformly sliced chicken breasts – ½ to ¾ inch thick works best
Avoid cuts with too much connective tissue or fat, as these don’t cook evenly when baked.
Using uneven strips can result in one piece being perfectly cooked while another turns dry or undercooked. Keep sizes as uniform as possible for the best results every time you bake chicken strips.
Skipping the Rest Time After Baking
Just like steak or pork, chicken needs a little time to rest after baking. If you cut or bite into it right away, the juices will run out—and you’re left with dry meat.
Let your baked chicken strips sit for 3–5 minutes on the tray before serving. This brief pause allows the juices to redistribute, making each bite tender and moist.
Bonus Tip: If you’re meal prepping, let the strips cool completely before packing. Trapping steam in a container can make the coating soggy.
Variations and Serving Ideas for Baked Chicken Strips

Gluten-Free, Spicy, or Parmesan Crusted Variations
Baked chicken strips don’t have to be one-note. In fact, with a few smart tweaks, you can create exciting variations that suit almost any dietary preference or flavor craving.
Here are some of the most popular:
- Gluten-Free Baked Chicken Strips
Swap traditional breadcrumbs for crushed rice cereal, almond flour, or gluten-free panko. Make sure your flour and seasonings are certified gluten-free. - Spicy Chicken Strips
Add cayenne pepper, hot sauce to your marinade, or mix chili powder into your breadcrumb coating. You can also use buffalo seasoning or sriracha for serious heat lovers. - Parmesan-Crusted Baked Chicken Strips
Mix ½ cup of grated Parmesan with your breadcrumbs for a cheesy, nutty flavor that crisps up beautifully in the oven. It’s a crowd-pleaser every time. - Low-Carb Option
Skip the breadcrumbs entirely and use crushed pork rinds or grated cheese for a keto-friendly, crispy coating without the carbs. - Herb-Crusted Variation
Mix fresh or dried herbs like rosemary, parsley, and thyme into your coating for a fragrant finish. This version pairs great with lemon garlic aioli.
These twists are perfect if you want to batch prep and freeze multiple styles. Just label and freeze, then bake from frozen with a few extra minutes added.
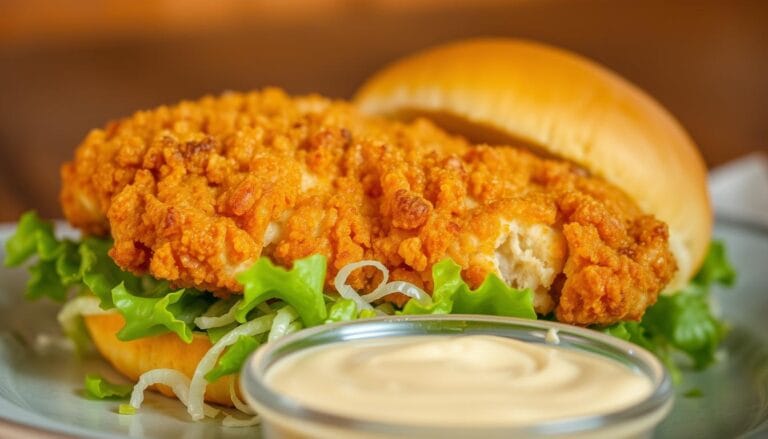
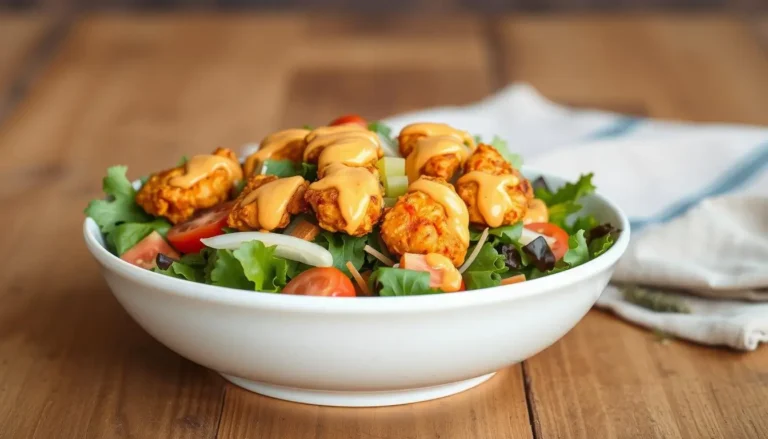
What to Serve With Baked Chicken Strips (Dips, Sides & More)
The right side dishes and dipping sauces can elevate your baked chicken strips from a snack to a complete meal. Here are some tasty pairing ideas:
Best Dipping Sauces:
- Ranch or chipotle ranch
- Honey mustard
- Spicy BBQ sauce
- Garlic aioli
- Buffalo or blue cheese dressing
Top Side Dish Options:
- Sweet potato fries or seasoned potato wedges
- Macaroni and cheese
- Caesar salad or coleslaw
- Cornbread muffins
- Roasted veggies like broccoli, carrots, or zucchini
How to Store and Reheat for Later
Meal prepping or saving leftovers? You’ll want your baked chicken strips to reheat just as crisp as they were fresh. Here’s how to do it:
- Storage: Let them cool completely before sealing in an airtight container. Store in the fridge for up to 3 days or freeze for up to 2 months.
- Reheating (Oven): Preheat to 375°F. Bake for 10–12 minutes to regain crisp.
- Reheating (Air Fryer): 350°F for 5–7 minutes—great for quick reheats.
- Avoid microwaving unless absolutely necessary; it makes the coating soggy.
Pro Tip: If freezing uncooked strips, place them in a single layer on a baking sheet first. Once frozen, transfer to freezer bags. This keeps them from clumping and makes weeknight dinners easy.
Baked Chicken Strips for Kids, Meal Prep, and Parties

Making Chicken Strips Ahead of Time
When life gets busy, having pre-made baked chicken strips on hand is a game-changer. Whether you’re planning for the week or prepping for a party, this dish stores and reheats beautifully.
Here’s how to prep ahead:
- Uncooked Prep: Coat raw strips, then freeze in a single layer. Once solid, transfer to a freezer bag. Bake directly from frozen—just add 5–7 extra minutes to the usual bake time.
- Cooked Prep: Bake the chicken, let it cool, and refrigerate or freeze in airtight containers. Reheat in the oven or air fryer to maintain crispiness.
Meal prep done right means fewer weeknight meltdowns and healthier choices ready to go—without sacrificing flavor or crunch.
Packing Strips in Lunchboxes Without Losing Crunch
Kids love baked chicken strips—but no one loves soggy lunchbox leftovers. Here’s how to keep that crunch intact:
- Let the chicken cool completely before packing. Sealing them warm will trap steam.
- Use paper towels to line containers and absorb excess moisture.
- Pack dipping sauce separately in small leakproof containers.
- Add cold-friendly sides like grapes, cheese cubes, or pasta salad for a complete meal.
This is a great school lunch idea because it balances protein, texture, and fun. Plus, it saves you from the daily fast food temptation.
Crowd-Pleasing Platter Ideas for Parties
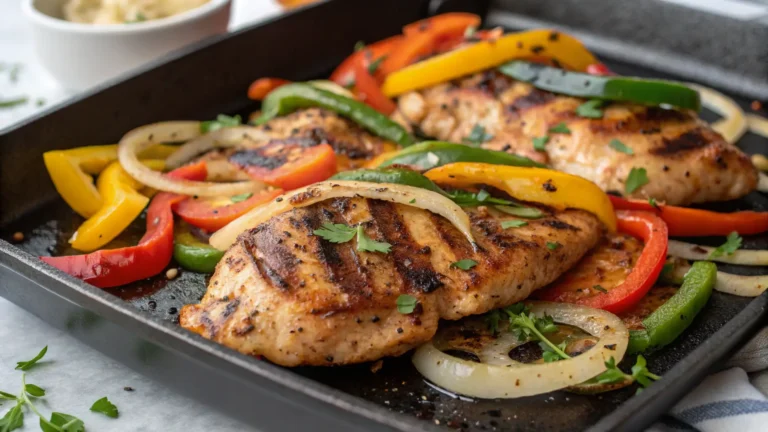
Baked chicken strips aren’t just for family dinners—they’re perfect party food. You can easily make a large batch, keep them warm, and serve them with a variety of sauces and sides.
Platter Tips:
- Serve on a wooden board or large tray with dips like BBQ, ranch, buffalo, and honey mustard.
- Add colorful sides: carrot sticks, celery, mini pickles, and sweet peppers.
- Include a gluten-free or spicy version to cater to dietary needs.
- Use warming trays or place foil-wrapped bricks under the tray to retain heat.
Presentation matters, especially at parties. A well-styled chicken strip platter is always the first dish to disappear at game day gatherings, birthday parties, or potlucks.
Conclusion: Crispy, Juicy, and Always a Hit – Mastering Baked Chicken Strips
Whether you’re serving a family dinner, prepping school lunches, or feeding a crowd, baked chicken strips are a no-fail favorite. With the right coating, oven temperature, and a few smart techniques, you can skip the fryer and still enjoy crispy, juicy chicken every time.
From gluten-free options to spicy or cheesy twists, the flexibility of this recipe makes it perfect for weeknights, parties, and everything in between. And with smart reheating and meal prep tips, your leftovers will be just as satisfying as day one.
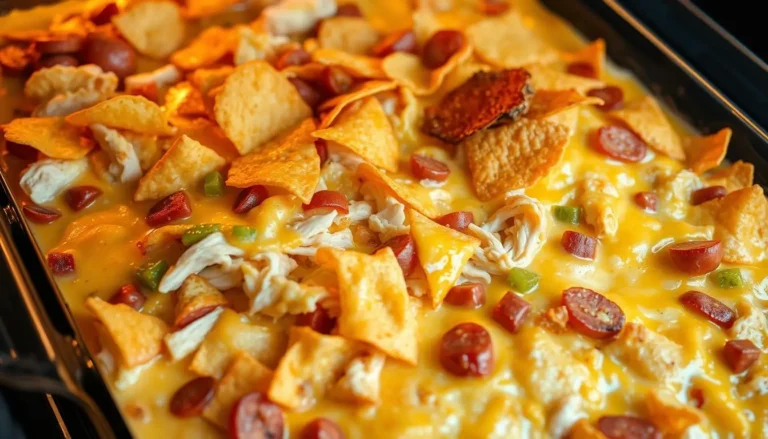
Don’t miss our other reader favorites like this comforting Blackstone Chicken Recipe or creamy King Ranch Chicken for more chicken ideas worth bookmarking.
Now go preheat that oven—it’s time to bake some greatness.
FAQs About Baked Chicken Strips
How long do chicken tenders take to bake at 400 degrees?
Chicken tenders, especially when sliced into chicken strips, bake quickly at 400°F. You can expect them to take 18 to 22 minutes in a preheated oven. Be sure to flip them halfway for even browning, and always check that they reach an internal temperature of 165°F to ensure doneness.
Is it better to bake chicken at 350 or 400?
Both temperatures can work, but if you’re aiming for crispy baked chicken strips, 400°F is the better option. It gives you a golden, crunchy coating while keeping the inside moist. Baking at 350°F results in a softer texture and takes longer, which isn’t ideal if you’re craving a crispy bite.
How long do strips of chicken take to cook?
It depends on the thickness, but chicken strips generally take 18–22 minutes in the oven at 400°F. Thinner strips might finish in 16–18 minutes, while thicker cuts may take closer to 24 minutes. Always check with a meat thermometer to avoid overcooking.
How to make chicken strips in the oven?
Making baked chicken strips in the oven is simple. Start by seasoning your chicken, then coat each strip in flour, dip in beaten eggs, and press into seasoned breadcrumbs or panko. Arrange on a baking sheet (preferably with a rack), spray lightly with oil, and bake at 400°F for about 20 minutes, flipping halfway through.
How long should I cook my chicken in the oven at 400?
For baked chicken strips, 400°F is the perfect temperature, and they should cook for around 18 to 22 minutes. This provides a nice crisp on the outside while ensuring the inside stays juicy and fully cooked.
Why are my baked chicken tenders tough?
If your baked chicken strips are turning out tough, you’re likely overbaking them or skipping a marinade. Chicken breast dries out quickly at high temps, so always pull them at 165°F and consider marinating them in buttermilk or yogurt beforehand to tenderize.
Do I cover chicken when baking?
Nope—don’t cover chicken strips when baking. Covering traps steam, making your coating soggy instead of crispy. Always bake them uncovered for best results.
When to cook at 350 vs 400?
Use 350°F if you’re cooking thicker chicken and prefer a softer texture. Go with 400°F when you want crispy baked chicken strips with a faster cook time and better browning.
What temperature and how long to cook chicken tenderloins?
Chicken tenderloins—often used for baked chicken strips—should be cooked at 400°F for about 18 to 20 minutes. Be sure the internal temperature reaches 165°F, and flip them halfway through for even crisping.
What is the difference between chicken tenders and chicken strips?
Chicken tenders come from the tenderloin, a small muscle under the chicken breast—they’re naturally more tender and uniform in size. Chicken strips are typically slices of chicken breast. Both work well in baked chicken strip recipes, but tenders may cook more evenly.
Have you given our recipe a try?
There are no reviews yet. Be the first one to write one.